
Now, for both projects I am going to be painting my mason jars with chalkboard paint and adding jute rope. I feel like once you get these painted, you can do anything with them!
What you need:
- Mason jars (as many as you want-I chose to do 8)
- Chalkboard paint
- Makeup sponges
- Painter's tape
- Scissors
- OPTION ONE: Tea/Coffee holder for a "coffee bar"
- Jute rope/ribbon
- Hot glue gun
- OPTION TWO: Makeup brush storage
- Coffee, pebbles, rocks and/or colored sand
- Jute rope/ribbon
- Hot glue gun
Let's get started:
Both of the ideas I am trying with the mason jars start the same, but I will split the tutorial towards the end.
- Clean the outside of your mason jars and let dry completely.
- Once dry, put your painters tape on the jar to form a rectangle

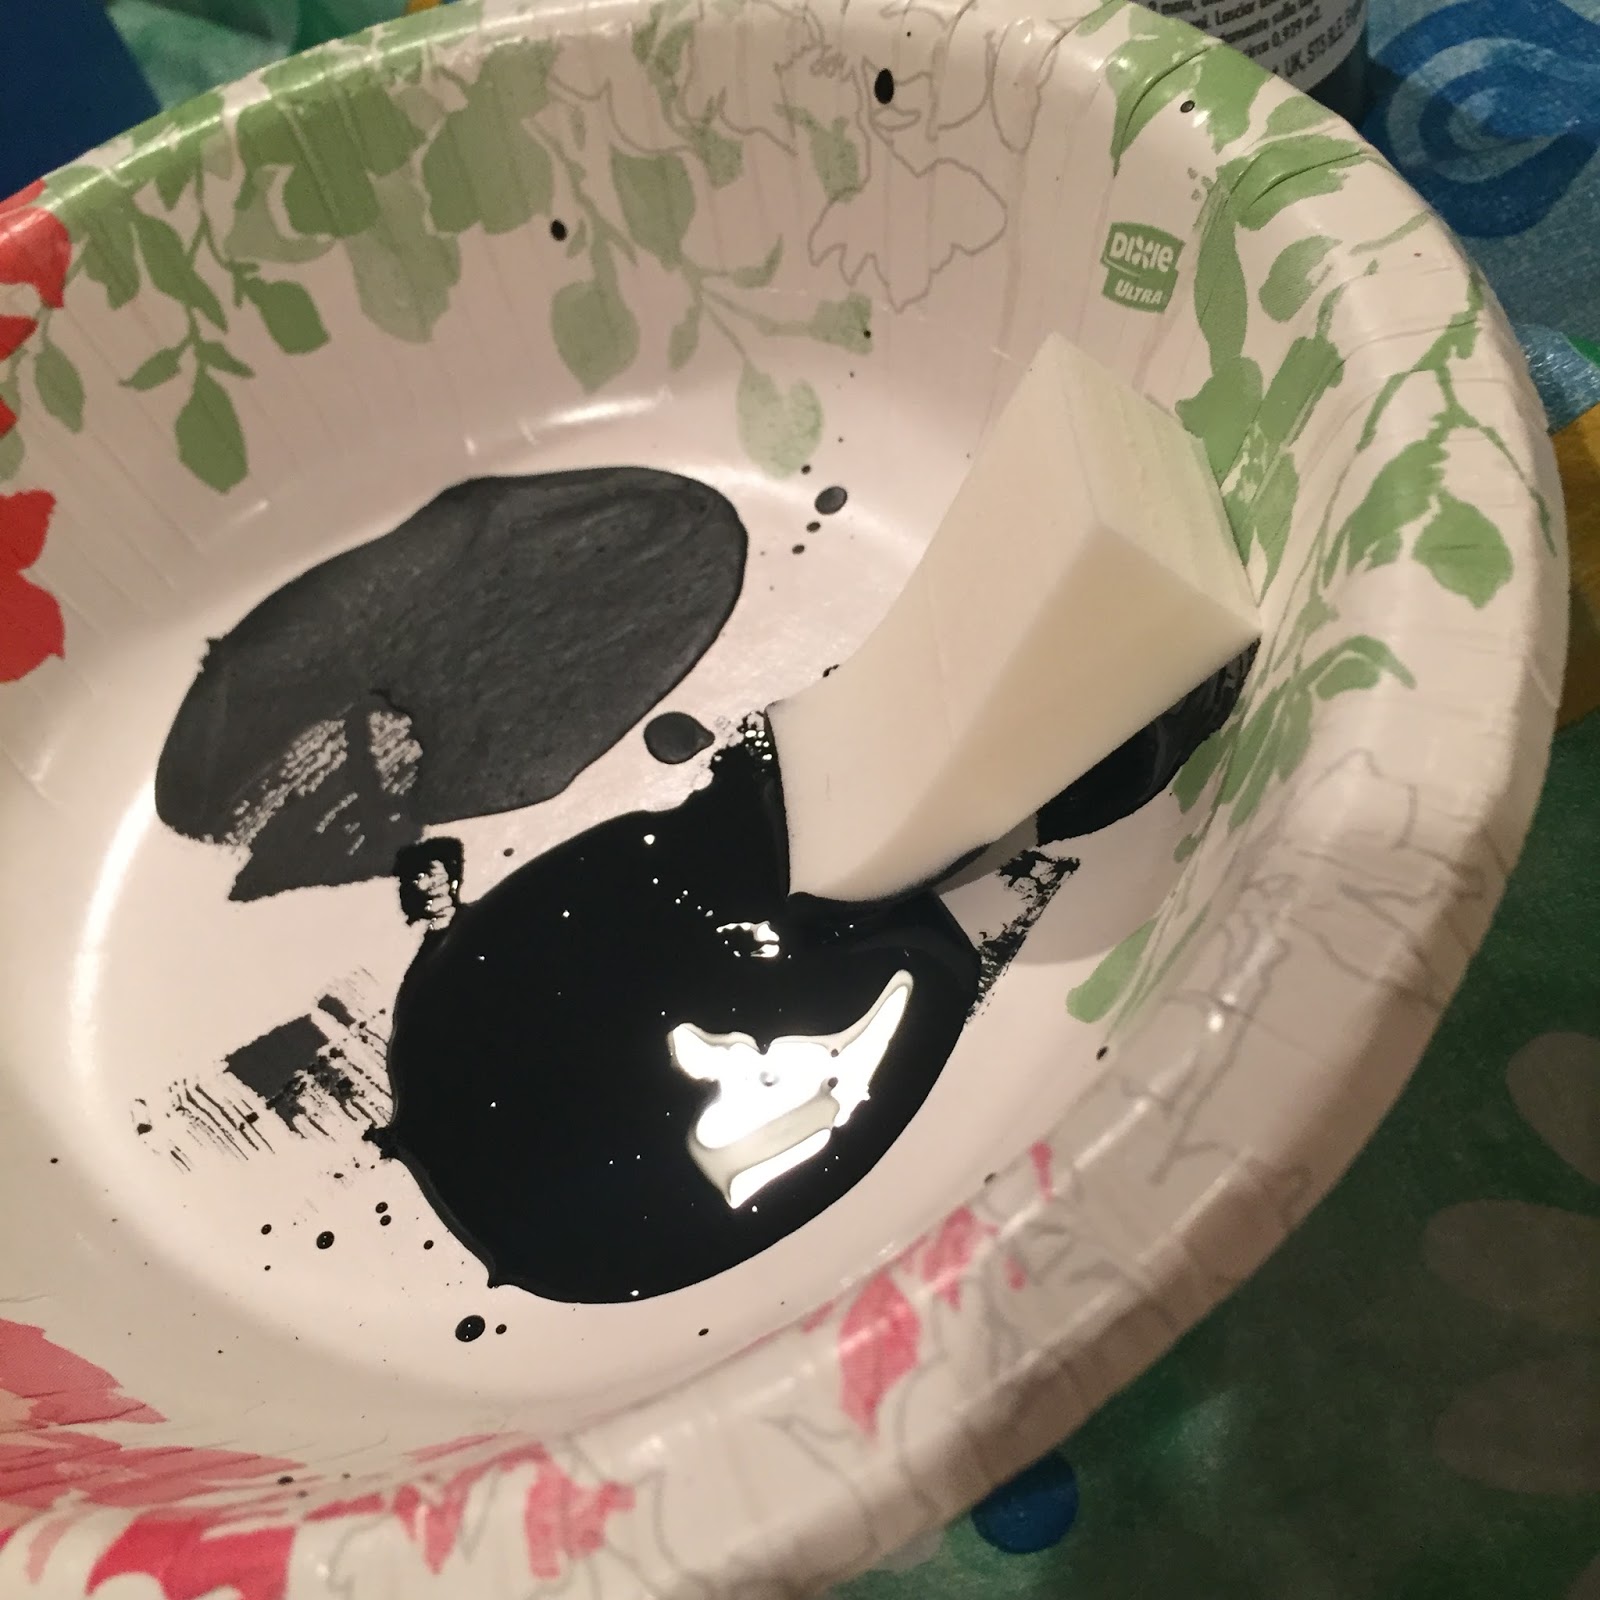
- Now paint your chalkboard paint onto the jar with the makeup sponge horizontally.

- Let dry for about an hour.
- Paint a second layer of chalkboard paint onto the jar this time painting vertically.

- Let sit overnight.

- In the morning, remove the painters tape and see how it turned out. If you don't like it, wash it off and try again.
- Now to seal the paint. Put the jars in your oven for 30 minutes at 350°F

- Take them out and let cool.
- OPTION ONE:

- Wrap the jute rope on the outside of the lid of the jar hot gluing where needed.

- Tie a bow where the ends meet.

- Fill with your favorite beverage mix/tea bags/coffee grinds
- Write the beverage to be on the chalkboard "label" with chalk.
- OPTION TWO:

- Fill the jar halfway with the rocks/pebbles/sand.

- Wrap the jute rope onto the tops of the jar where the lid usually goes and hot glue where needed.

- Tie a bow where the ends meet.

- Label the jars (face, eyes, hair, etc).
- Place the corresponding brushes into the jars.
- Enjoy!


Links:
- Coffee Bar (While there is no tutorial for the mason jars, this is where I got the idea)
- Makeup Brush Holder (I just made this with the mason jar)
- Chalkboard Tutorial


