 |
| I had to photograph it lying down because I could not find my command hooks. |
So I saw this tutorial on Pinterest in one of those Buzzed DIY Projects to Decorate Your Grown Up Apartment articles (what a mouthful) and thought the Garland would look really cool on my window. Sadly I did not take many measurements when I went to tour the apartment, so I'm basing the measurements off my bedroom back home.
My window is about 4 feet wide so I decided to half the materials called for in original tutorial.
What you need:
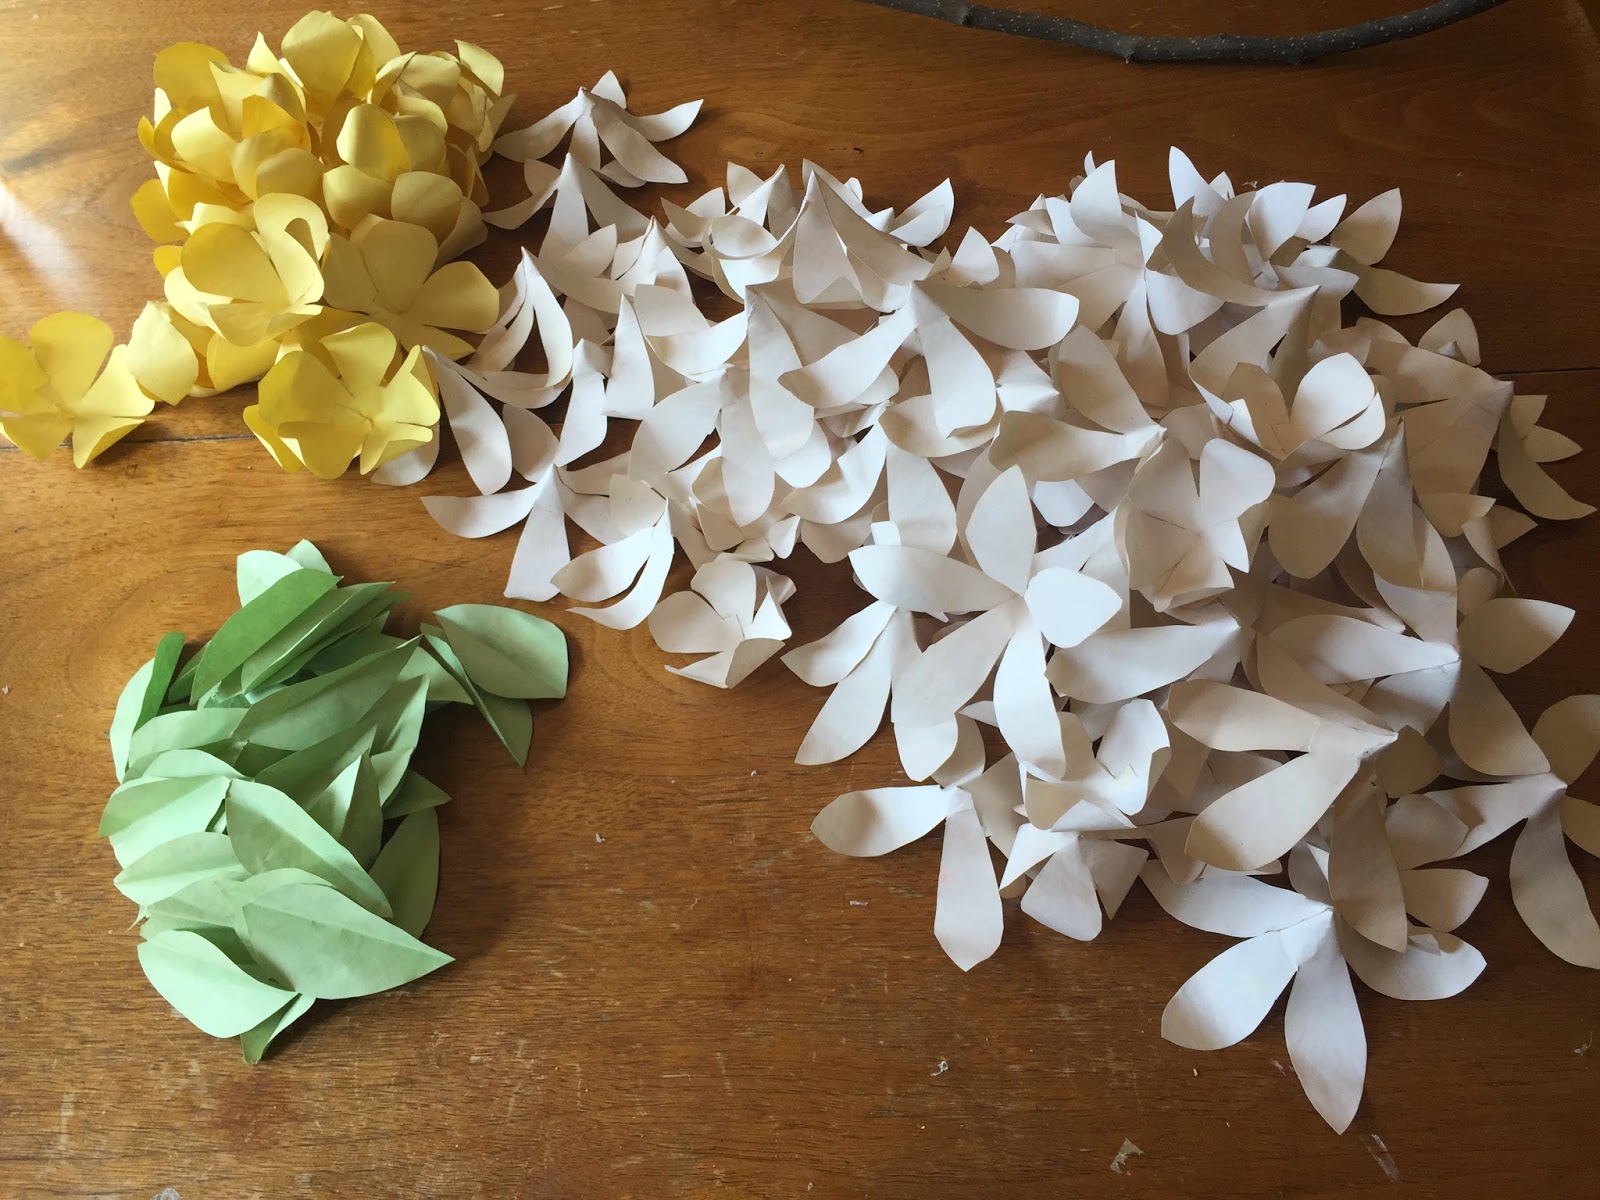
- 15 white prints
- 5 yellow prints
- 3 green prints
- Scissors
- Basket or bucket
- Glue Gun
- Twine
- Embroidery Needle
- 4 ft branch
- Ribbon (any color)
- OPTIONAL:
- Loose Tea or Tea Bags (I used Lipton tea bags)
- Pan with Boiling Water
- Paintbrush/sponge or pan for dying
Let's Get Started!
- Print the FREE PDF prints (link below) onto the white, yellow, or green paper specified on the PDF.

- Cut out the flowers/leaves (warning: this is REALLY tedious so be prepared to spend some time cutting), and put them in your basket/bucket so they do not get lost.

- OPTIONAL TEA STAINING:
- I did not try too hard to find the perfect color green, yellow, or cream paper, so this my solution to have the color paper I want.
- Steep tea in boiling water and leave until the water cools.
- Place the flours in the cooled tea mixture, or pour the tea mixture on the flours in a pan.
- Dry flat or hanging.
- Note on tea staining: the more tea you steep and the longer you steep it, the darker the dye color, so if you are looking for a lighter color use less tea.

- Curl the uncurled/almost curled petals with the edge of your scissors or by hand.
- Fold the leaf in half and curl both edges away from the center.
- Glue tab on yellow flowers so the ends curl INWARD.
- Do the same with the smaller white flowers.
- Glue tab of bigger flowers so the ends curl OUTWARD.

This is what they should look like when finished. - Separate yellow and white flowers, and make a separate pile for the leaves.

- Thread twine through embroidery needle (put tape on twine end and pull through needle eye for easier insertion)

- String the flowers onto the twine and integrate the leaves between some of the white flowers, cutting twine between each row of flowers. (I created different rows for the yellow and white flowers, but you can do what you want)

- Tie one end of each flower row onto branch with equal spacing between rows.
- Adjust flowers on twine and glue in place.
- Trim off excess twine, and tie ends.
- Tie ribbon to each end of the stick in order to hang.

- Enjoy!!


Links:
- Buzzfeed Article
- Original Tutorial
- PDF Flower Prints (Also on the original tutorial)
No comments:
Post a Comment